Add Github Actions to your existing library
This page is only relevant if you have an existing repo that you wish to add the template deployment scripts to.
If you have setup your library following the template guide you can skip this page.
If you already have an ArupCompute library and a Github repo setup, but you would like to set up CI/CD to deploy to ArupCompute then you can copy the template repo Github actions. On this page we will describe how to do this.
If your library was created using the template repo then you do not need to do this.
Requirements
In order to follow this guide you must:
- Have an ArupCompute python library already set up and pushed to ArupCompute
- Have a Github repo setup for your project
- Have your project set up in the same folder layout as the Sample Python Library
Set up repo
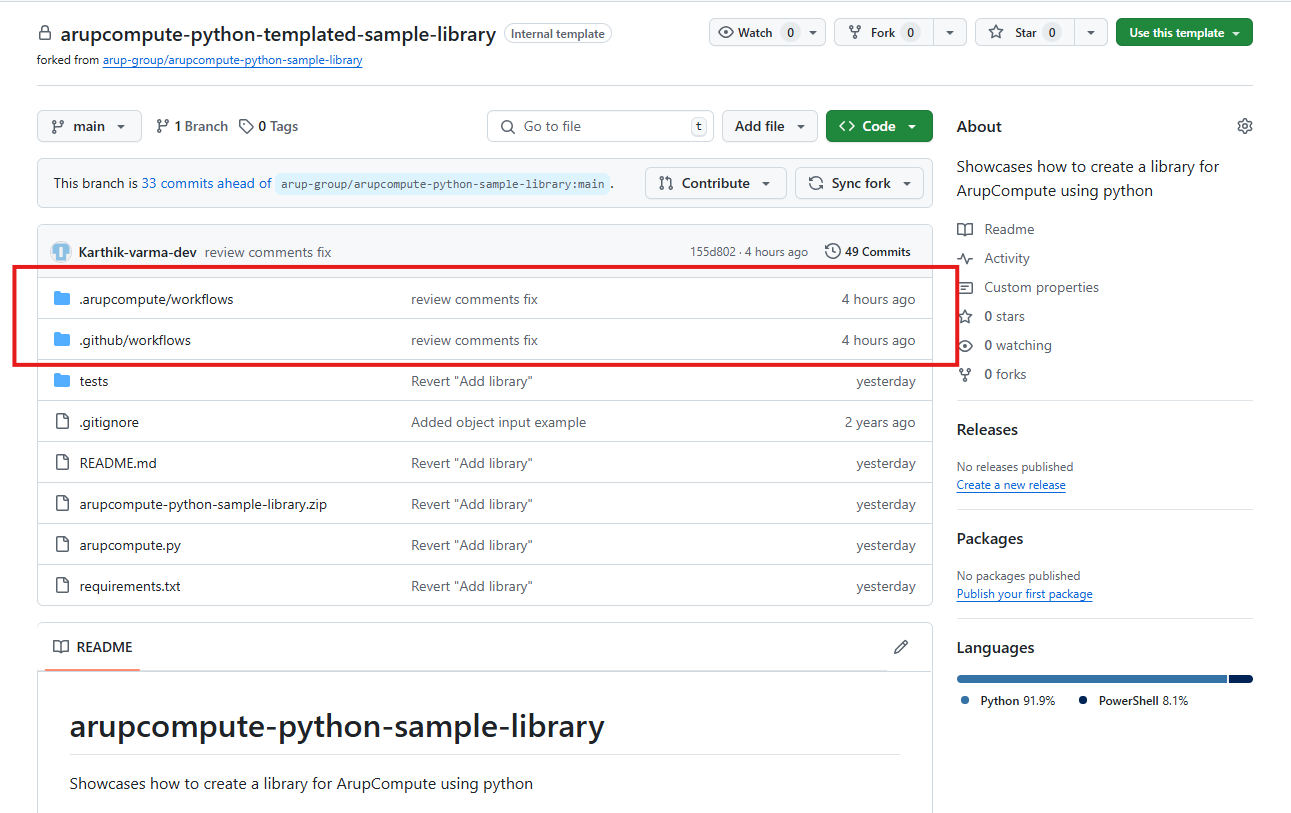
From the Sample Python Library, copy the .github and .arupcompute folders and paste them into your repo.
There are no Github secrets that need to be set up.
Edit config files
The folders that we just copied over contain the files required for the github actions and also the files that those actions use to publish new library versions to Arup Compute.
The main file that needs to be changed is .arupcompute/workflows/config.json. This file contains information about your library, each of these fields will need to be updated.
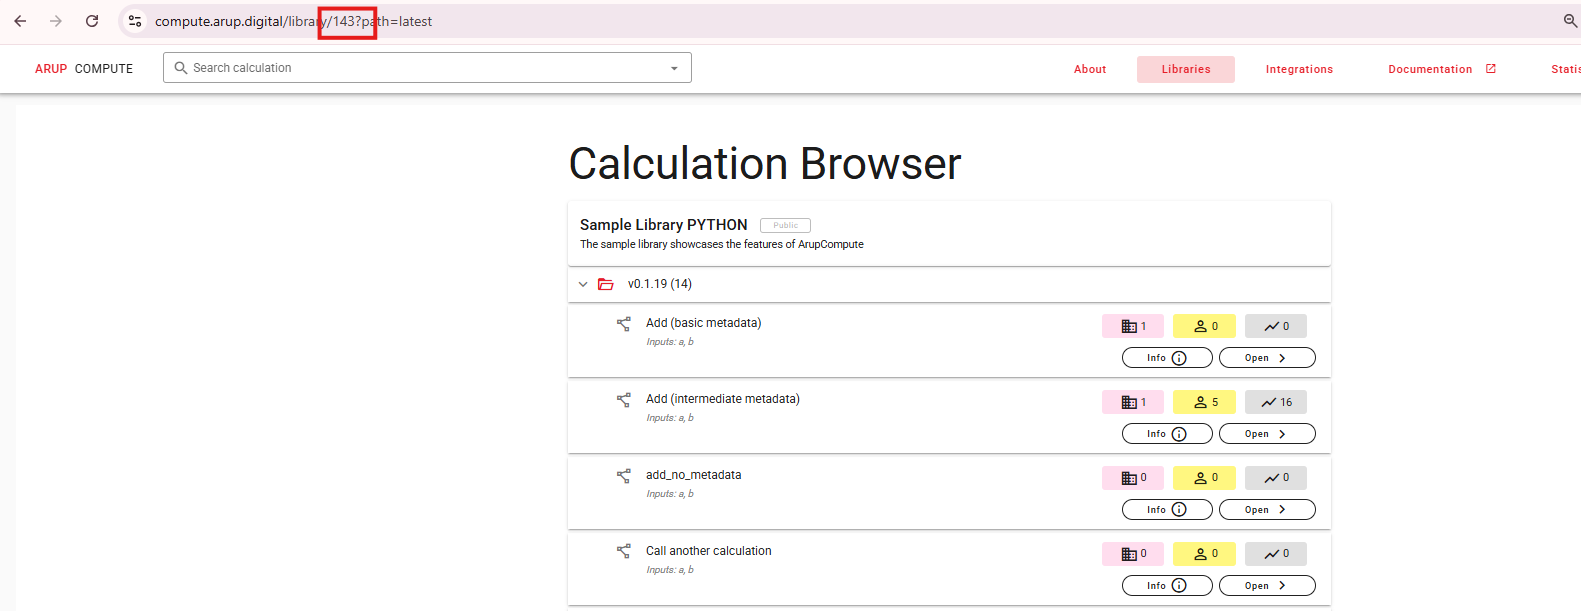
LibraryName: You must change this to the name of your python file. Eg, if you class library was calledExampleLibrarythen you should changeLibraryNametoExampleLibrary. The Python file containing the calculations will be compressed into the.zipfile during release pipeline.LibraryId: This must be the id of your library. To find this, open your library on the ArupCompute website and then find the id in the url. For example, in the image below the id of the library would be143:
UserId: This is your ArupCompute user id (note: this is different from your Arup Staff Id). To find this, go to the ArupCompute website and click on your profile picture in the top right. Your user id will be shown above the "Logout" button. Enter this value into theUserIdsection of the config.json

-
Description: This must be the description of your library. This does not have to be the same as the description that you initially put for your library and it can be changed at any time -
Environment: Specifies the target environment for publishing the library. Supported values are DEV, UAT, and PROD. Use DEV if you're experimenting or testing functionality.
Once you have updated this file you should be able to run the build pipeline in the same way as a library generated from the template repo. For more on how to release a new version, see Making new library versions
Testing
Add tests folder if its is not already there. Add all your unit test files to this folder. Keeping tests organized in this location ensures they are correctly picked up during the release pipeline.
Running Tests Locally
ArupCompute python template uses pytest library for testing. If it's not already installed, you can install it with: pip install pytest. Then, run your tests using the following command: python -m pytest tests